Select the menu item File > New > Project.... to open the New Project wizard
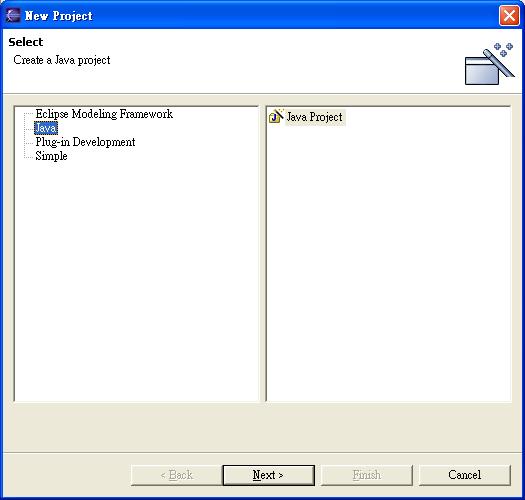
On the left pane of the first wizard page, select Java, and on the right pane, select Java Project. Then click Next. On the next page, type "lab11" in the Project name field and click Finish. A Java perspective opens inside the workbench with the new Java project in the Package Explorer. When the Java perspective is active, new menu options and Java specific buttons are loaded in the workbench toolbar. Depending on which view or editor is active, other buttons and menu options will be available.
In the Package Explorer, make sure that the lab11 project is selected. Select the menu item File > Import....
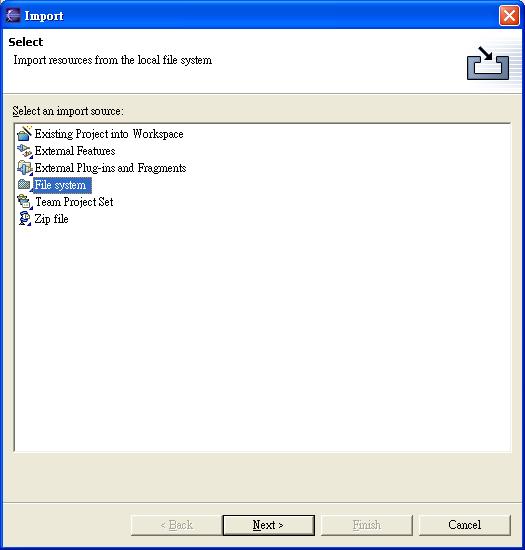
Select File system, then click Next.
In the Import wizard, below the hierarchy list click Select All. You can expand and select elements within the lab11 directory on the left pane to view the individual resources that you are importing on the right pane.

Click Finish to finish the import.
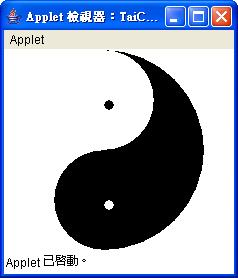
You can open TaiChiApplet or any file in the project default package by double clicking on it.
In general you can open a Java editor for Java files, types, methods and fields by simply double clicking on them.
For example, to open the editor directly on the draw() method defined in TaiChi.java, double click on the method in the Package Explorer or Outline view window.
Notice the syntax highlighting. Different kinds of elements in the java source are rendered in unique colors. Examples of java source elements that are rendered differently are:
Regular comments
Javadoc comments
Keywords
Strings.
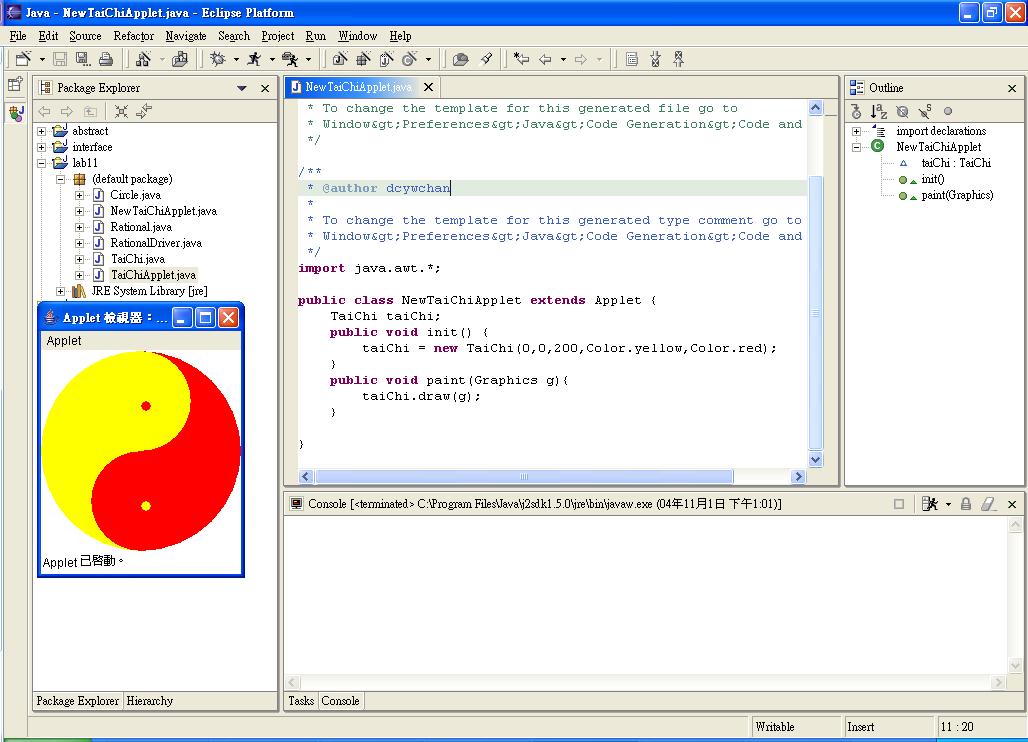
In the Package Explorer view, find TaiChiApplet.java and double-click it to open it in an editor. Select the Window menu Show view item, click Outline view to open the Outline view window. Look at the Outline view. It displays an outline of the Java file including the package declaration, import declarations, fields, types and methods. The Outline view uses icons to annotate Java elements. For example, icons indicate whether a Java element is static, abstract, or final. Different icons show you whether a method is overridden from a base class ( ) or when it implements a method from an interface ( ).

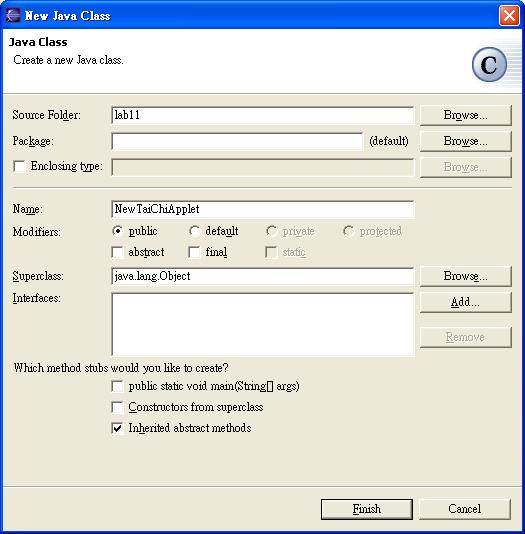
In the Package Explorer view, select the default package of lab11 project and click the Create a Java Class button in the toolbar. Make sure that lab11 appears in the Source Folder field and that nothing appears in the Package field. In the Name field, type NewTaiChiApplet.
In the Choose a type field in the Superclass Selection dialog, type App to narrow the list of available superclasses.
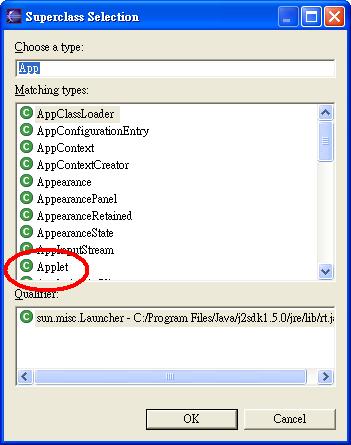
Select the Applet class and click OK. Uncheck all checkbox under "Which method studs would you like to create?" group. Click Finish to create the new class.
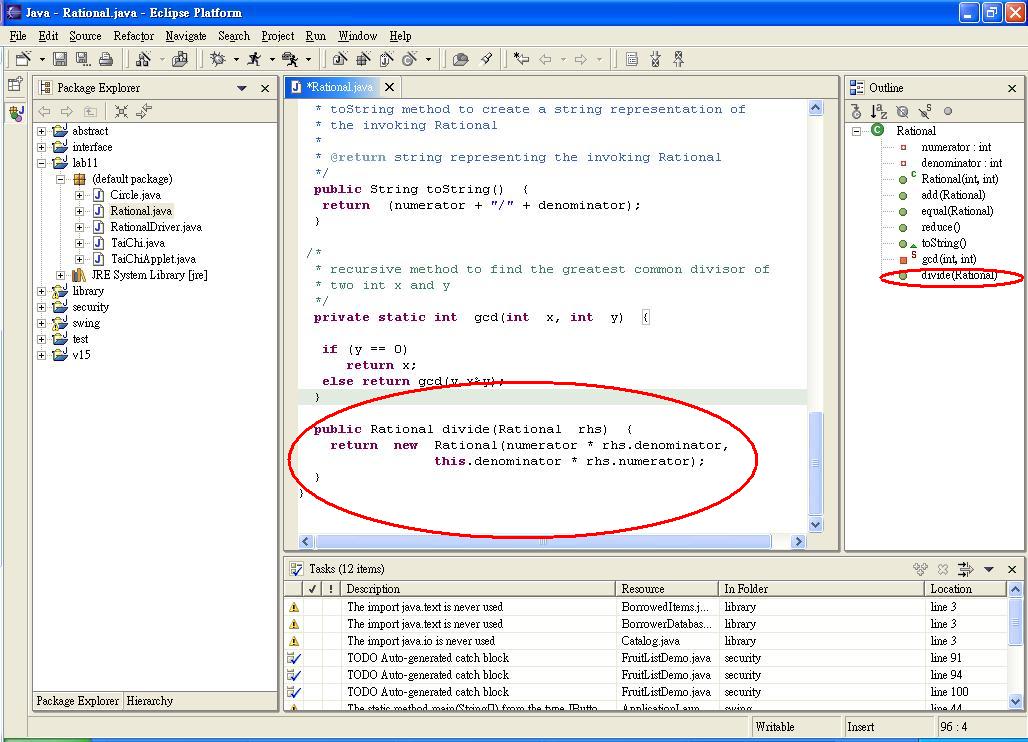
Select the file Rational.java, start adding the following at the end of the Rational.java file.
 public Rational divide(Rational  rhs)  {
  return  new  Rational(numerator * rhs.denominator,
			   this.denominator * rhs.numerator);
 }
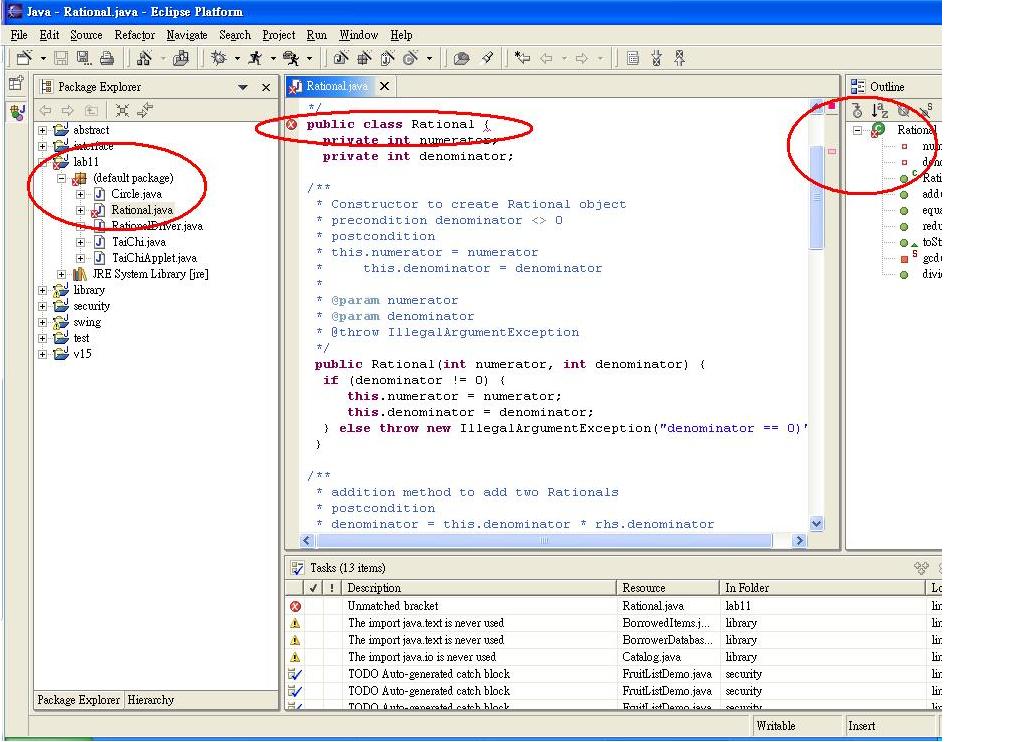
Correct the error and save the file. Notice that the error indicators disappear since the missing bracket has been added.
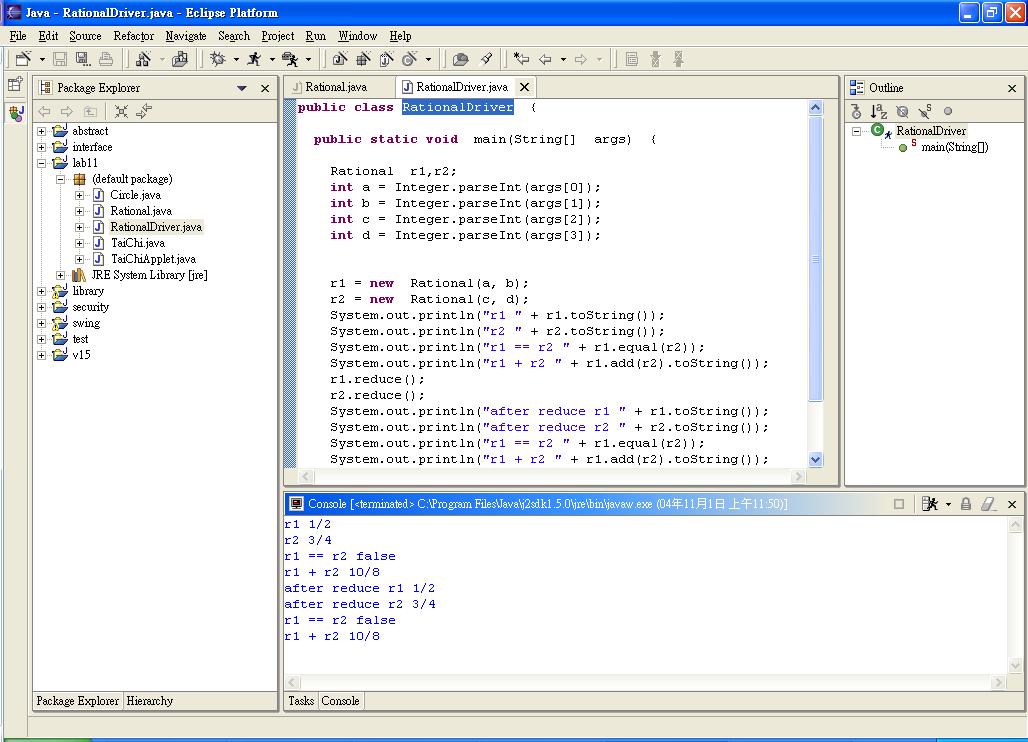
In the Package Explorer view, find RationalDriver.java and double-click it to open it in an editor.
In the Outline view, notice that the RationalDriver class has an icon which indicates that the class defines a main method.
Using the drop-down Run button in the toolbar, select Java Application from the cascading Run As menu. This will launch the class in the active editor, or the selected class in the Navigator, as a local Java application.
Notice that the program has finished running and in addition to the pop-up windows, an error message appears in the Console view telling you that the program encounters a java.lang.ArrayIndexOutOfBoundsException.

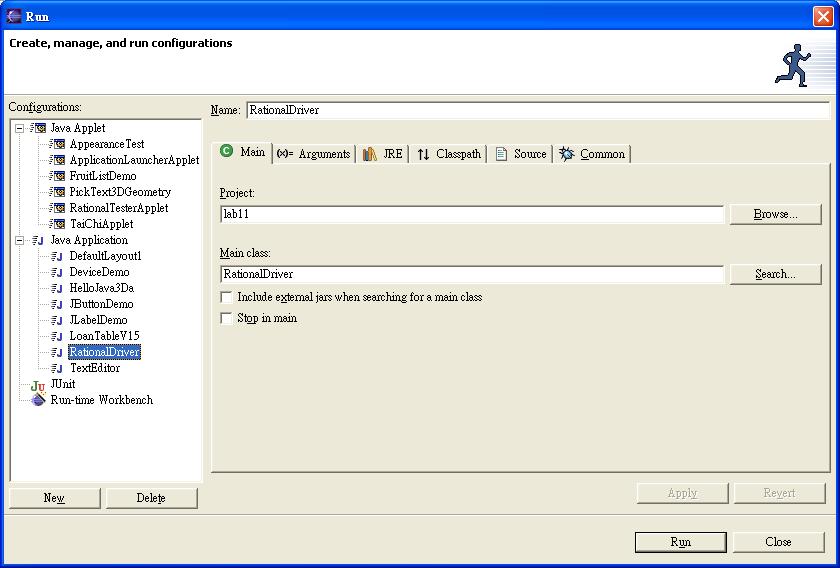
Since RationalDriver class uses arguments from main() method as input. To specify arguments, use the drop-down Run menu in the toolbar and select Run....
This time, the Launch Configurations dialog opens with the RationalDriver launch configuration selected.
A launch configuration allows you to configure how a program is launched, including its arguments, classpath, and other options.